Creating and Editing Channels
This topic describes how to create and edit channels using the Replicated Vendor Portal. For more information about channels, see About Channels and Releases.
For information about creating channels with the Replicated CLI, see channel create.
For information about creating and managing channels with the Vendor API v3, see the channels section in the Vendor API v3 documentation.
Create a Channel
To create a channel:
-
From the Replicated Vendor Portal, select Channels from the left menu.
-
Click Create Channel.
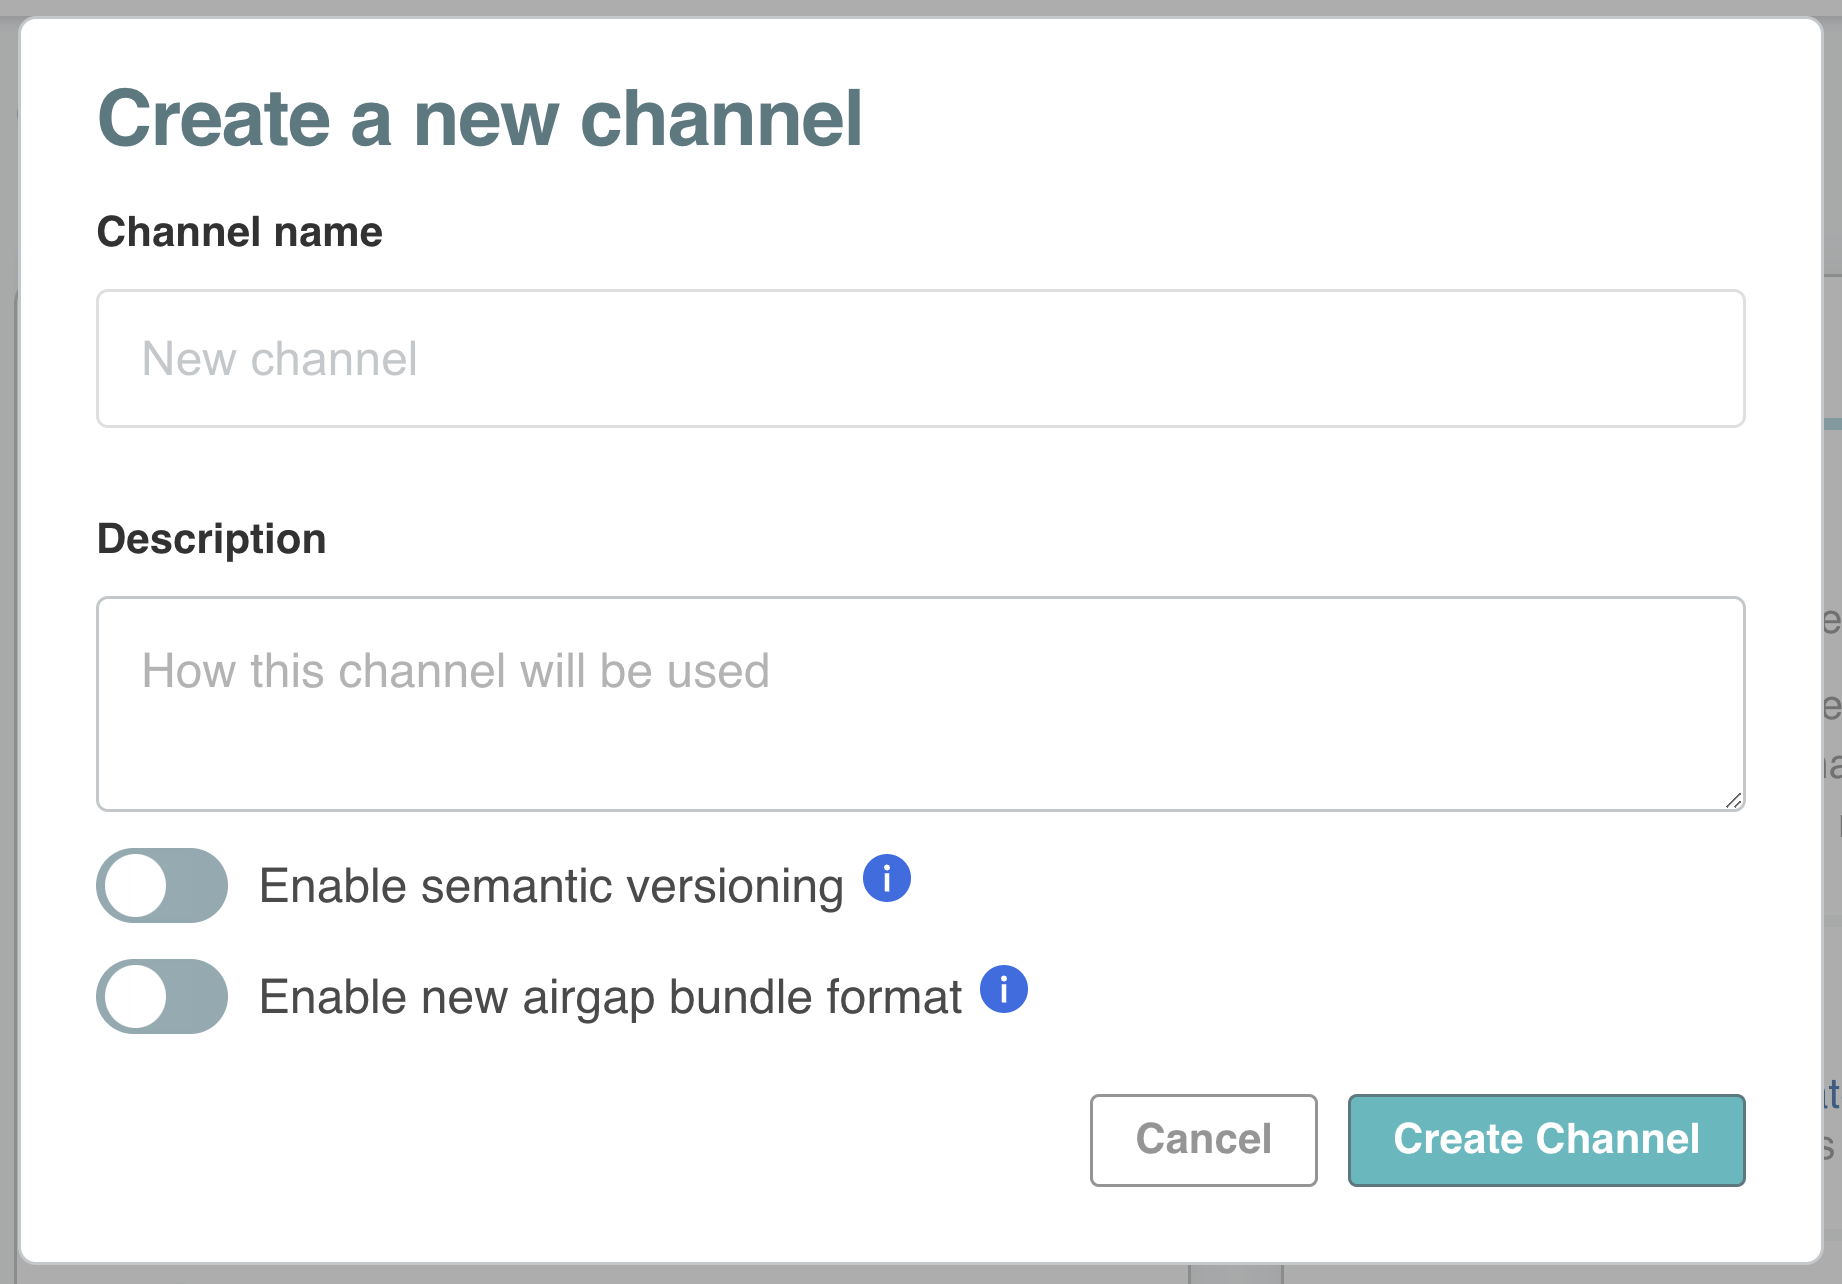
The Create a new channel dialog opens. For example:

-
Enter a name and description for the channel.
-
(KOTS Only) For applications that support installation with Replicated KOTS, to enable semantic versioning on the channel if it is not enabled by default, turn on Enable semantic versioning. For more information about semantic versioning and defaults, see Semantic Versioning.
-
(KOTS Only) For applications that support installation with KOTS, to enable an air gap bundle format that supports image digests and deduplication of image layers, turn on Enable new air gap bundle format. For more information, see Using Image Tags and Digests.
-
Click Create Channel.
Edit a Channel
To edit the settings of an existing channel:
-
In the Vendor Portal, select Channels from the left menu.
-
Click the gear icon on the top right of the channel that you want to modify.
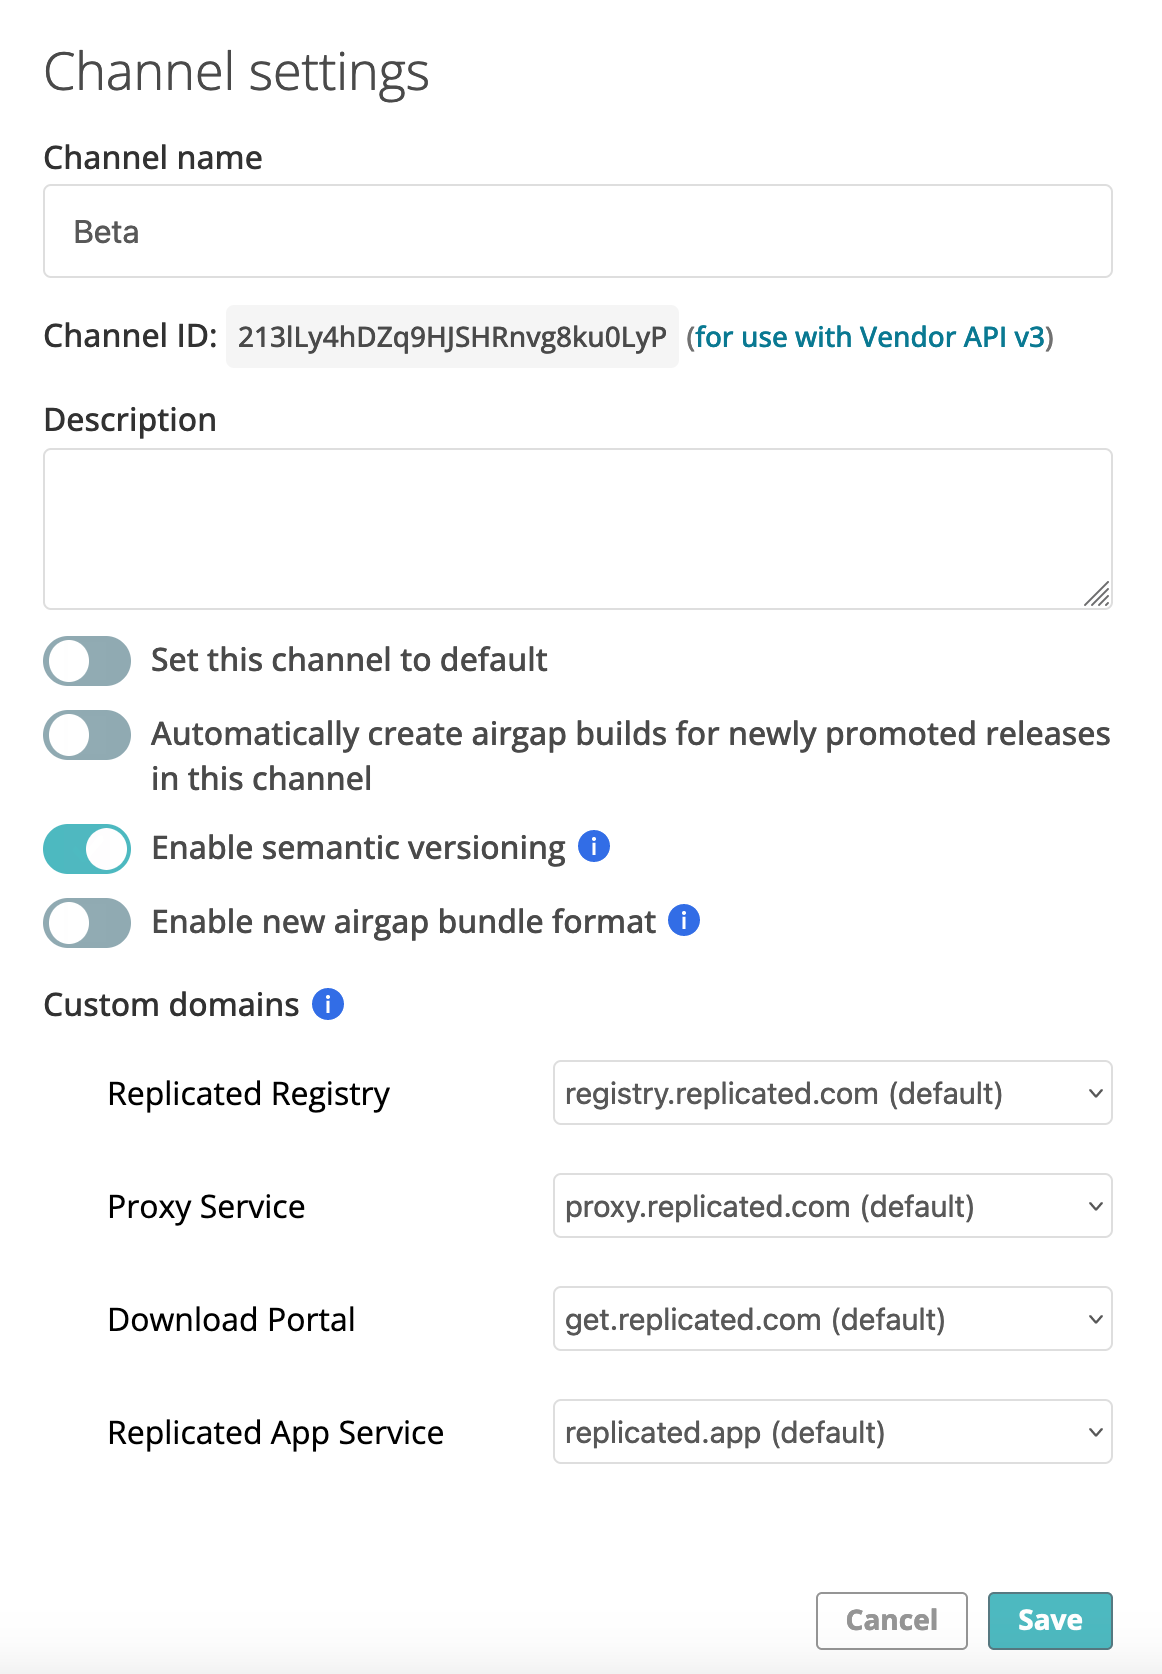
The Channel settings dialog opens. For example:

-
Edit the fields and click Save.
For more information about channel settings, see Settings in About Channels and Releases.
Archive a Channel
You can archive an existing channel to prevent any new releases from being promoted to the channel.
You cannot archive a channel if:
- There are customers assigned to the channel.
- The channel is set as the default channel.
Assign customers to a different channel and set a different channel as the default before archiving.
To archive a channel with the Vendor Portal or the Replicated CLI:
- Vendor portal: In the Vendor Portal, go to the Channels page and click the trash can icon in the top right corner of the card for the channel that you want to archive.
- Replicated CLI:
-
Run the following command to find the ID for the channel that you want to archive:
replicated channel lsThe output of this command includes the ID and name for each channel, as well as information about the latest release version on the channels.
-
Run the following command to archive the channel:
replicated channel rm CHANNEL_IDReplace
CHANNEL_IDwith the channel ID that you retrieved in the previous step.For more information, see channel delete in the Replicated CLI documentation.
-